I have made gluten free noodles and pasta both with and without egg. I have used whole egg and just the yolk. The problem has been that when I use just the yolk it turned out too brittle. That extra strength comes from the egg white. But these were so strong that I would try it with just the yolk. The recipe is simple
- 300 grams yes you can gluten free plain flour
- Teaspoon of xanthum gum
- 3 eggs (one for every 100 grams)
- Tablespoon of olive oil or more
- Salt to taste. Salt is optional but I skip it as I am not preserving it and I like it either way.
- Water as needed. I measured out around 100 mils and splashed 1 tablespoon at a time
- A lot of extra flour for dusting
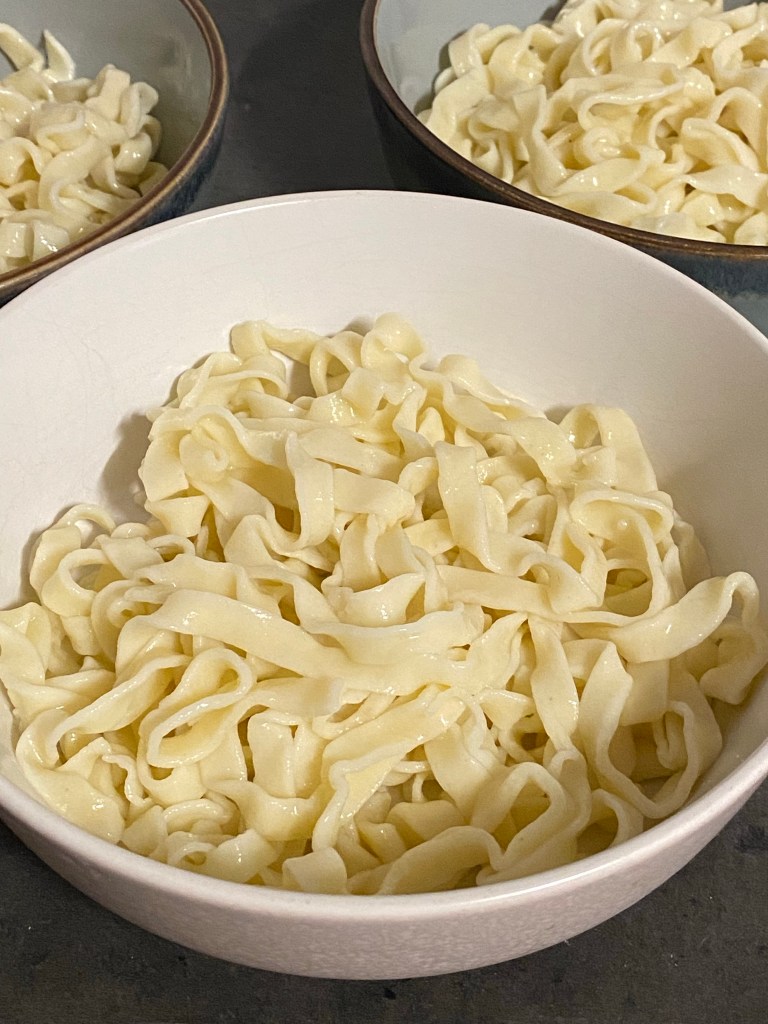
What I got was more like an egg noodle and strong enough to twirl it on my fork and keep pulling up without it snapping.

This recipe would be interchangeable as noodles or pasta and it would make good lasagna but there’s a catch on how to make it right. It’s sticky and brittle at first. You have to laminate it until smooth.
The process to making it is simply enough. Mix the dry ingredients well in a large mixing bowl. It’s a very sticky mixture and needs resting so use a bowl. Be thorough with mixing the xanthum gum to avoid gummy clumps. Create a well for the eggs like making any pasta or noodle and add the whole egg and the tablespoon of oil. The oil helps make it easier to manage. The protein will help give it strength and chewiness. Start combining. Depending on a few factors including humidity and temperature of your kitchen you might not need much water. So add small splashes at a time AFTER all the egg and oil is throughly combined. The dough should be sticky but not stick more to you than itself. It needs to be sticky so when you rest it for 15-30 minutes the xanthum gum can do it’s magic. If you are pressed for time you can start right away. If not let it rest. I threw mine in the fridge with cling film over the top until I was ready to use it. I have found not letting it rest can make it difficult to work with.
You first piece needs heavy dusting with flour and brushed off so it’s evenly coated and it will come out of the roller in a sticky fragile pile but it shouldn’t be stuck to the machine. You should start on the thickest setting. I didn’t I went straight to 4 on my machine. I use a Baccarat pasta maker. So for me 7 is the thickest and 1 is the thinnest. I wanted to try four because I knew these would thicken up due to the egg in the mixture. The oil in the dough helps with the stickiness and not sticking to the machine. Totally normal for it to come out a sticky messy pile full of holes. Smoosh it flat, dust and repeat and it will be the same. Smoosh it flat dust and repeat and you will see some strength and less stick parts and probably holes. Now gently pull out flat and fold it and turn it so the smooth edges are on the outside and always dust the outside of the dough before running through the pasta machine. It shouldn’t stick to the rollers but if it does, then your dough is too moist and you just have to knead it with some flour a few times. Keep repeating until the dough looks like my photo of being a smooth sheet with no holes. And that’s the main trick to gluten free pasta. I read doing this strengthens the protein bonds from the eggs. But overall I have learned it works better to use a dough that’s sticky and a bit over hydrated. If your dough is too dry it will just break with every pass and become more dry and brittle and you won’t succeed and adding the water to a dry dough is a nightmare. Instead try a stickier dough and keep laminating your dough until it’s smooth. I didn’t make proper nests. I gently dumped it in flour until well coated and plopped them on the bench. When you pick up your pasta strands, handle with care. They might mash together. If they do, then do a few more passes through the roller to add more strength.
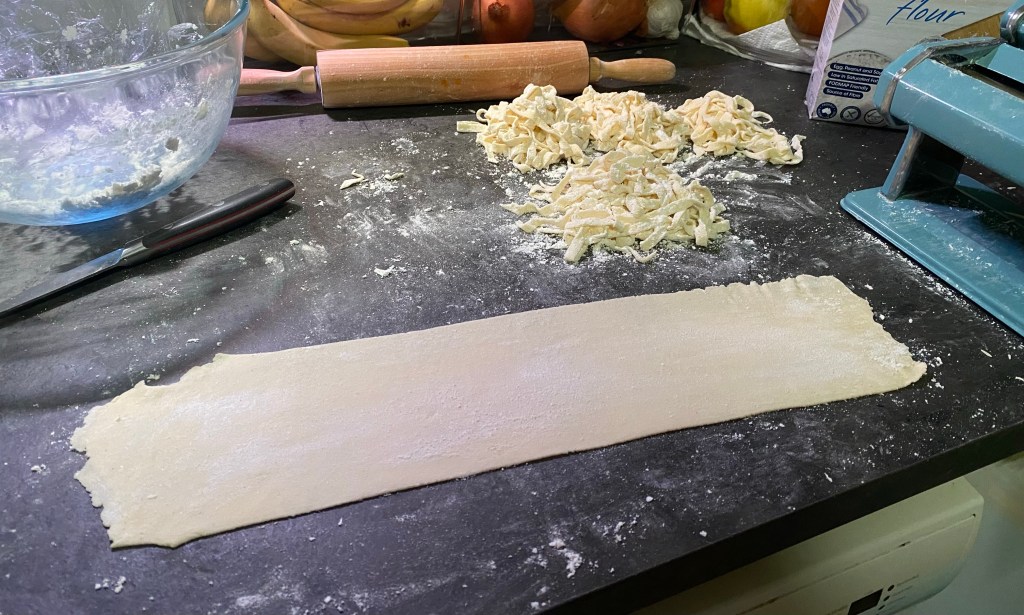
In the image above I ran that piece through the roller until it looked like this. I folded it and rolled it through like puff pastry until the sides came out smooth and the surface looked smooth. It stays sticky so you must dust it before running it through the cutters. I did this with the Well & Good flour as well as others but the Yes You Can brand has come out on top. Both of these flours already have xanthum gum in them so if I were to try another flour without binders, I would add an extra quarter of a teaspoon of xanthum gum.
Gluten free pasta and noodles is a lot more work but if you have a pasta machine it’s not as bad. And it is better than store bought. You can actually twirl it on your fork and get it in your mouth without it breaking off the fork or unwinding and snapping. You can eat it more like a gluten pasta without the gluten. You get faster at making it the more you make it and you can freeze your dusted eggs nests for another time. I wouldn’t freeze my other attempts but I would freeze these. Only reason I don’t is this one is so good that it all gets eaten. With the yes you can flour I got two dinners with leftovers out of it for two adults and one teenage boy. It gave me ten nests. I want to do lasagna sheets next and see how they handle a meal.
I always add a teaspoon of xanthum gum per cup or 250 grams. All of my gluten free noodles have been ok and fairly brittle. Well & Good plain flour worked well but lost strength as you ate but it was good. This one with Yes You Can, kept its strength even in the sauce reheated hours later and still good the next day. My husband said if you said nothing, you wouldn’t be able to tell it was gluten free. A big compliment!
My toddler still has aversion to pasta as he tried gluten pasta young when he was old enough to try the soft baby lasagna packets and it was before we knew he had celiac and it caused him a lot of pain. But I will keep offering him homemade gluten free pasta until he realises that it won’t hurt his tummy. He will come around eventually. I’m glad he enjoys the meat and veggies in pasta most days. I look forward to making pasta and noodles with him one day when he is older.
I’m sorry there’s no super simple way to do this. If you make the recipe dryer to be easier and less work, you run the risk of making it too brittle. If you’re not afraid of using a bit of elbow grease, try this. Try a wetter dough and letting the dough rest so the xanthum gum can absorb as much moisture as possible and then rolling it until smooth. If you have a stand mixer then this would make it a thousand times easier as you could just mix the dough for 5 minutes until smooth and it’s got some strength. But I don’t have this luxury. Perhaps one day I will.

Leave a comment