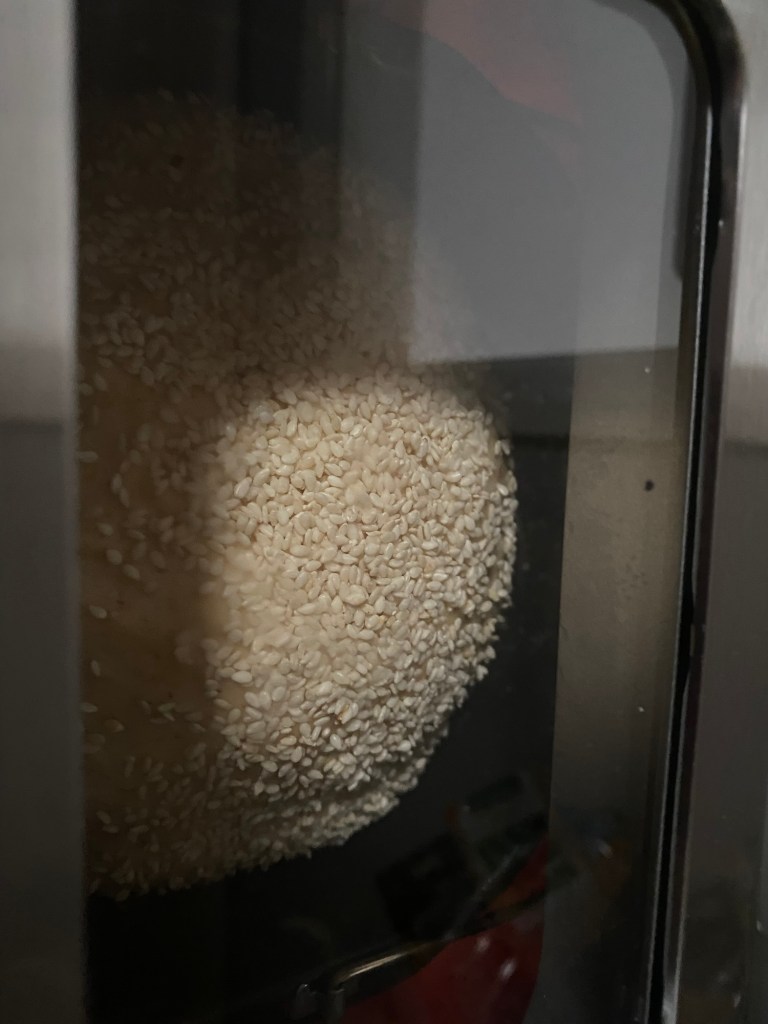
I do apologise for the poor lighting but this has more than doubled in size in my Breville Bakers Dozen Bread Maker
Ingredients
- 2 cups of milk or water
- 2 eggs
- 30 mils olive oil or neutral oil
- 1 tablespoon of psyllium husk whole
- 1-2 tablespoons of sugar or maple syrup
- 2 teaspoons of yeast
- 1 teaspoon of salt
- 2 cups of plain gf flour or Kim’s Gluten Freda Bread flour blend
- 1/3 cup of ground golden flaxseed
- 1/2 cup brown rice flour
- Optional 100 grams of gluten free sourdough discard. Great loaf to use up discard
- Extra liquid if dough is too dry. Or extra plain flour if dough is too wet.
- Sesame seeds or poppy seeds for the crust
Instructions
Use a stand mixer or electric hand mixer with dough hooks. Combine all wet ingredients, eggs, oil and psyllium husk together into mixing bowl. Mix well, stop and allow psyllium gel to form. Add sugar and yeast to gel and mix. Next, add rest of dry ingredients slowly. The dough should be too sticky to handle but not runny. If the dough is dry then add liquid one tablespoon at a time. The flaxseed can make it hard to add more moisture so take your time and be patient.
Add to bread maker and select gluten free option. If your maker doesn’t have a gluten free option then use the rapid or quick bread or look through your user manual to find a setting that only had one rise. Sometimes the option is called yeast free.
The maker will mix it again. More mixing is fine. The reason why you should premix your gluten free dough is to make sure all ingredients are thoroughly incorporated for the best results. Gluten free often doesn’t mix as well in a bread maker. It can have large pockets of flour. Premixing helps prevent this.
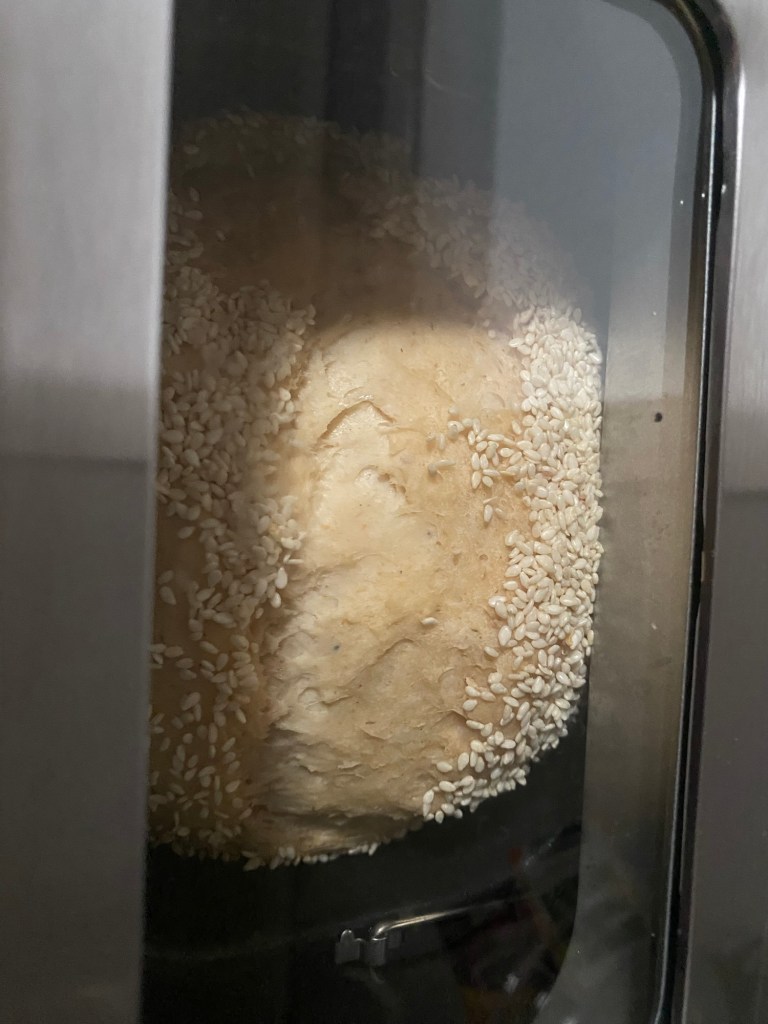
When the proofing stage is close to baking, sprinkle seeds over the top of the dough. This step is completely optional. Don’t leave the lid open for too long.
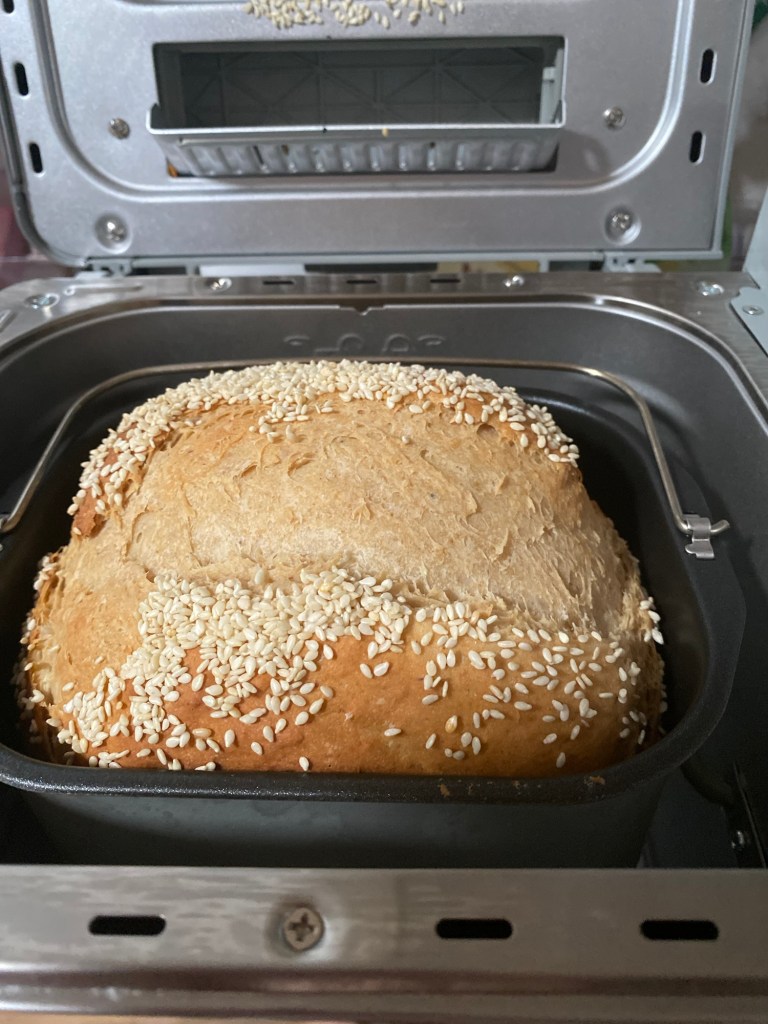
Once the bread finished immediately remove carefully from bread maker with oven safe gloves and remove bread onto a cooking rack. With the bread on its side, carefully remove the bread maker paddle. Mine came with a tool to remove it so I use that. Removing it while hot helps it slip out more smoothly and prevents from creating a giant hole. You will still have a hold from the paddle but thats the only real downside to bread maker bread. Personally it doesn’t both me. I have found my model of bread maker the paddle hold is in the shape of the paddle instead of a big ball missing.
This recipe is simple and may take be revised over time. But for now, it works and works great.
Tips
If you leave it in the machine on keep warm after it’s done it make collapse and become gummy.
If you spray oil before applying seeds or salt to the top crust it might help it to stick better.
The nut dispenser doesn’t all ways mix in seeds and nuts well for gluten free. Best to premix your dough with seeds and dump it in.
Not all dump and go recipes work for gluten free. They often don’t seem to mix well or turn out either too gummy or too dry.
If you can’t have binders like psyllium husk or xanthum gum try Gluten Free Tangzhong or Gluten Free Yudane.
Bread maker gluten free option often gives a better rise as it creates the perfect temp for proofing and baking with only one mix and one proof. I wouldn’t have known this at all if I hadn’t found reviews made by Gluten Free Jules. I was able to select the right machine for my needs. And so far the Breville Bakers Dozen bread maker has performed beyond my expectations! It’s changed my bread baking entirely.
Ramblings/Unimportant
So my oven is definitely about to die. But I can’t afford that anytime soon. I was able to buy a bread machine using Afterpay. I had a feeling my recipes were fine and that it was in fact the oven. And I was definitely right. I retried old recipes and the bread is fabulous! Fortunately if I want rolls I can persevere and make them in the airfyer or I can make them in the bread maker by simply removing the paddle, premixing and rolling then adding to the pan. Only downside is the pan size. Doesn’t matter as I mentioned before I have an airfyer.
I’m so happy with my bread machine. This one makes great gluten free bread! The crust is great every time as well. I haven’t had any issues with overproofing or undercooking. It just works every single time. It’s changed my gluten free baking and my overall experience.
I haven’t been posting anything new because I have been frustrated. When I first moved in the oven was great. But it was already old. And it didn’t take long for it to deteriorate. The fan makes a horrible noise like it’s grating on something and it has uneven hotspots and uneven temp. The burners are also dying. One doesn’t work at all, one is unable to heat higher than low and the other is mega high set to low and can’t be turned up or down and the last one is perfect but of course it’s the smallest least used element.
So there’s been a total stop in recipes and posting. I haven’t even been making flatbreads or wraps lately. One thing I have been working on is airfryer gf puff pastry using tapioca based gf tangzhong. It makes a difference in the pastry layers and softening it so it’s not like brittle cardboard. I’m getting closer to a good puff pastry.
That’s all for now. I will likely make more posts for gluten free bread bread machine recipes. Next one will be fruit loaf. I haven’t been able to balance the flavour right yet. But I will eventually.
Below are some pics of the loaf I made with this recipe. Has a nice hint of yoghurty flavour from the starter
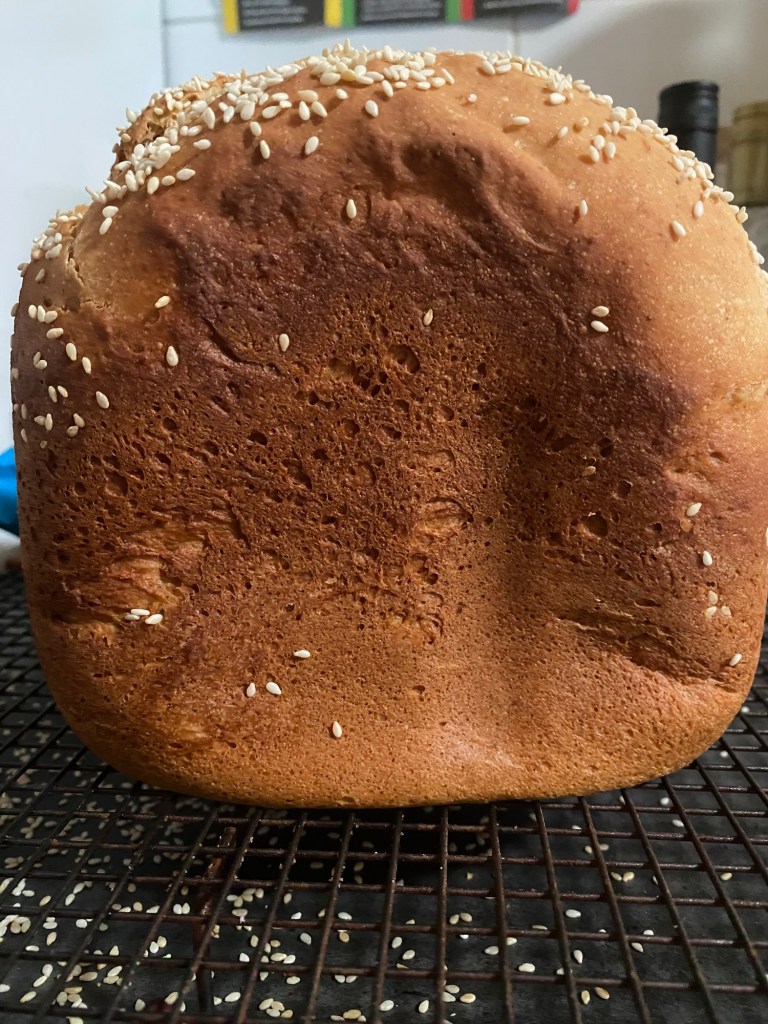
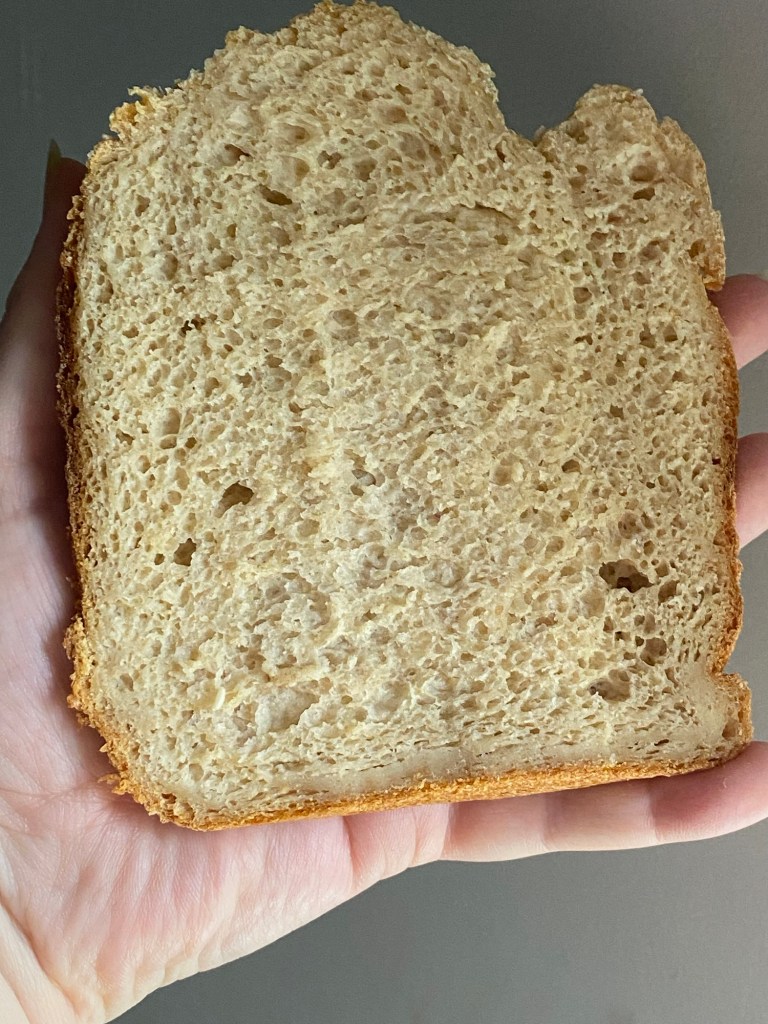
For todays loaf the base was a little gummy but not a deal breaker. Most days this recipe works great. I think for today I had slightly too much water and not quite enough salt.

Leave a comment