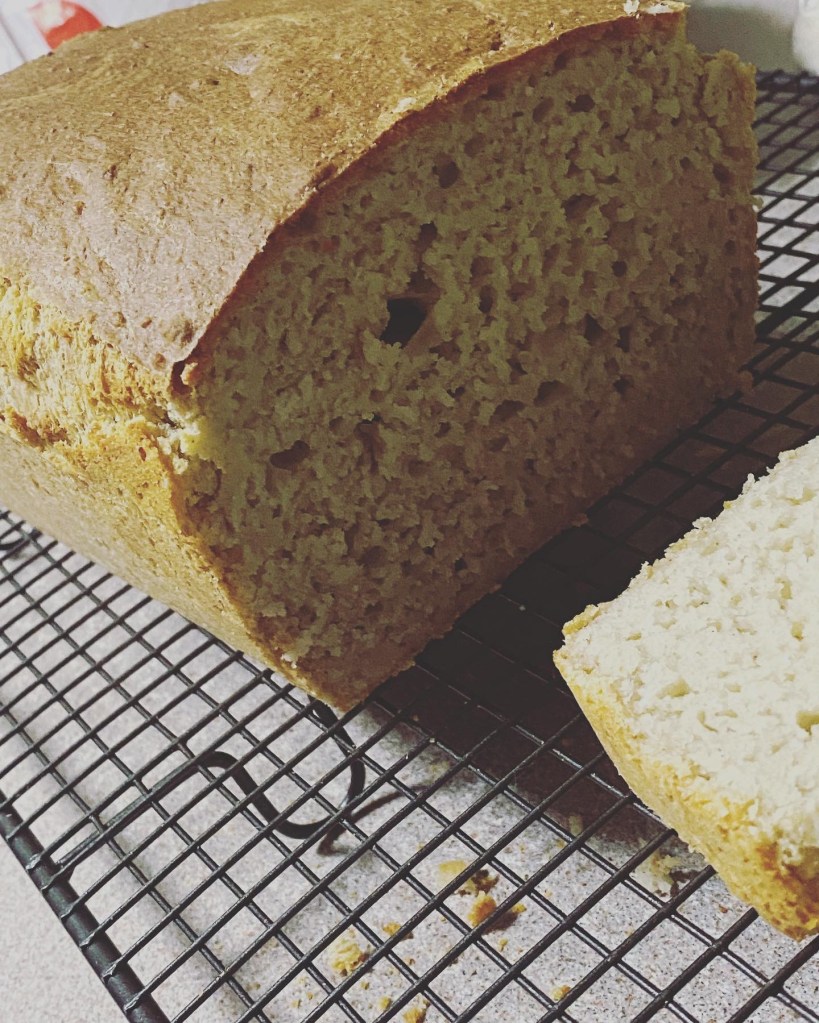
This has been entirely experimental but I’m going to post my recipe here. Not going to lie and say it was super yummy. It was bland. It was more bland than regular bread but not unpleasant at all. It served its purpose and because it was bland it was a good sandwich loaf which was the intention. My baby and husband need to be gluten free and at over $7 a loaf I am learning to bake them myself. This loaf is very soft and cake like when fresh and hot but stronger and chewy when cooled down.
- 100 grams Almond flour
- 100 grams Buckwheat flour
- 100 grams Plain Gluten Free Flour. I used Orgran brand
- 100 grams Self Raising Gluten Free. I used Coles brand “I’m Free From”.
- 100 grams rice flour. Any will do
- 300 grams of water
- 10 grams psyllium husk powder. That’s 2 grams for every 100 grams flour
- 2 teaspoons of yeast
- 3/4 cup of water seperate from 300 grams water. Use to activate and test yeast
- 1 teaspoon salt
- 3 teaspoons sugar
- 3 eggs
- 3 tablespoons oil. I used olive
Instructions:
Put 10 grams psyllium husk in 300 grams water and set aside. Do this first to form a gel. It makes kneading easier. Next put two teaspoons of yeast and 3 teaspoons of sugar in 3/4 cup of water. The yeast should activate in as little as 5-10 minutes.
While the yeast is activating combine rest of dry ingredients. So the 500 grams worth of flours and teaspoon of salt. Mix around until well combined. Made a well in the middle and add eggs and oil along with psyllium gel. Start mixing until dough forms. Add yeast water when dough is becoming to dry and dense. You may need to add extra water. About a table spoon at a time. The dough should be like an overly dense batter and sticky. Mix as well as you can or use a stand mixer until dough is smooth or very well combined.
Grease a non stick pan or line with baking paper. I have found greasing the pan to be easiest with a nicer crust. Place dough directly into a large enough pan so you can proof in the pan. It’s gluten free and only needs to proof once. It’s best done in the pan of your choice and cover. I used a plastic oven bag which I reuse as it keeps the bread nice and humid. Proofing times vary. Just let it proof until double sized. Last night was very cold for our Summer and it took 2 and a half hours to proof.
Now the most important part. Cook low and slow. I made the mistake of cooking to high to soon but it was salvaged and turned out fine. I have to cook in an airfryer. I cooked my loaf on 115 Celsius. Mine took around 80 minutes. To check if it was fully cooked when removed from the bread pan knock on the bread and listen for a hollow sound much like a melon. If not you don’t need to put it back in the bread pan to cook longer. I had to toast my crust on 200 degrees for another 5 minutes to form a stronger crust.
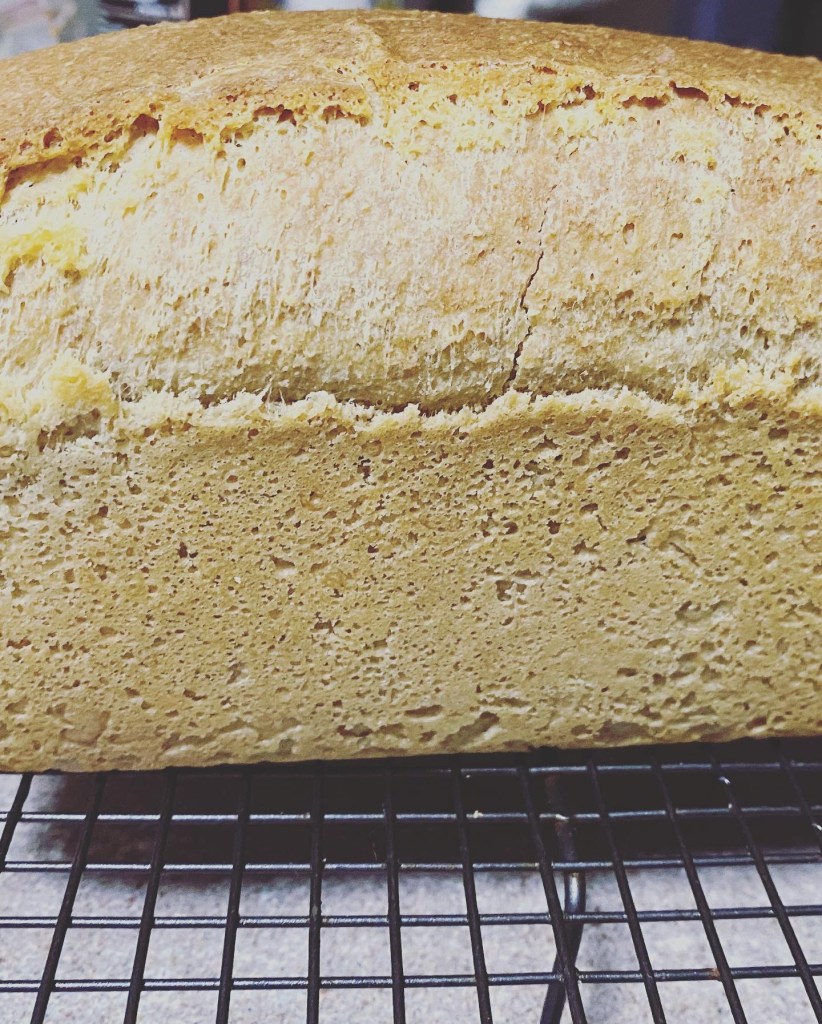
My dough naturally split itself. The dough is so batter like that scoring like a sourdough was impossible but it split neatly and I’m not sure if it’s because I cooked it low enough that it was able to steam. I read while cooking that baking gluten free is often better to do at lower temperatures. I will keep this in mind. If I make other loaves I will post the recipes that are successful. This is a good bread if you need something that is very plain but not dry.

Leave a comment